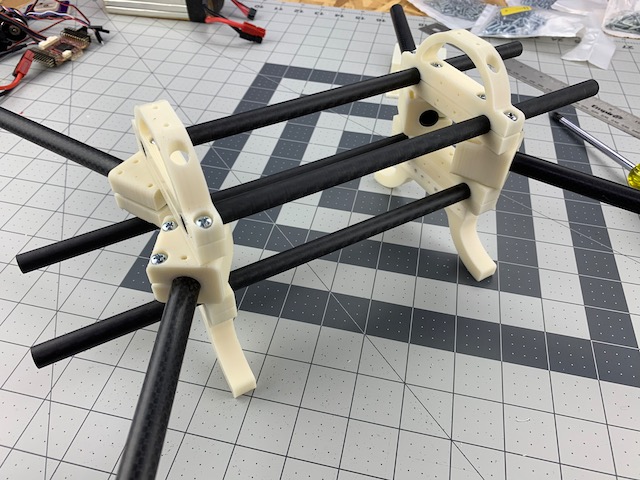
Quick Start
This is a high level overview of how to build a devFrame. Skip to the build section if you are ready to go. If not, have a full read through the docs.
The devFrame is …
… for anyone building a small robot, with access to a 3D printer and a few basic tools, who needs or wants the flexibility of building from open source ecosystems.
… easy and fast to build, capable of taking a beating, and helps protect your gear while you are experimenting and innovating.
… designed to help you fail better. Failing fast is only useful if you can learn and iterate after the fail.
The devFrame is not …
… the cheapest frame to build, but we think it’s one of the best values out there.
Some Assumptions
While we try to provide enough information to help you achieve your devFrame building goals, we do make some assumptions about skill and motivation levels. The biggest goal for the devFrame project is to reduce the amount of time and effort involved to build, but it still takes a commitment to read and learn the required information.
We assume that you can either print the frame parts, or have access to someone who can. More information on 3D printing the frame parts can be found here.
We assume that you are familiar with open source projects such as ArduPilot or PX4. You could even use something like BetaFlight or iNav. The main docs will focus on ArduPilot for now, and contributions welcomed.
We also assume that you know how to use basic tools such as screwdrivers, and that you know how to solder. Or know someone who does. If you do not have skills with tools or a soldering iron we have provided some resources here, as it’s never too late to learn.
Overall, if we do not have the answer we will try to point you in the right direction to go find it. If you feel like we missed something let us know. And remember, search is your friend.
Basic Build
Quadcopter
If you are not sure what size and config to build we recommend building a 450 class per the docs.
Perhaps the most versatile devFrame quadcopter is a 450mm wheelbase in stretch X configuration.

This size runs well on 9 inch props, can carry a 3-4 cell battery in the 3000-5000mAhr range, fly for 15-25 minutes, has room for a companion such as Raspberry Pi, and can handle a small payload such as a camera module for computer vision. This is the size that is covered in the main docs on this site. Other sizes and configurations are covered in Community Builds. Have a look around and get a feel for what size and configuration meets your needs.
Ground Rover
We will eventually cover a basic skid steer rover build as well.
Basic Build Steps
- Plan your build – Select the type, size, and configuration of your devFrame based on your requirements.
- Print your parts – Print them yourself, or use a service, or barter with a friend who has a printer.
- Gather the parts and tools – Make sure you have everything you need.
- Build the hardware – Put it all together. We provide lots of pictures.
- Configure the software – We provide some advice, lots of links, and complete parameter files for common builds.
- Test it – Make sure it works like it should. Remember, smart is safe.
- Iterate – As required. Luckily, the devFrame is pretty flexible and easy to tweak.
- Contribute – Enjoying your devFrame? Cool! Let us know and share your experience with the community. It’s good karma.
Notes, Cautions and Warnings
The following conventions are used throughout the devFrame docs.
Note – A Note is used to draw attention to important information.
Caution – A Caution is used to draw attention to information or actions that may cause minor injury and/or damage to property.
WARNING – A WARNING is used to draw attention to information or actions that may cause serious injury and/or damage to property.