Battery, BEC, Etc
Almost there! This is last major step before we start to program the firmware and get ready to fly.
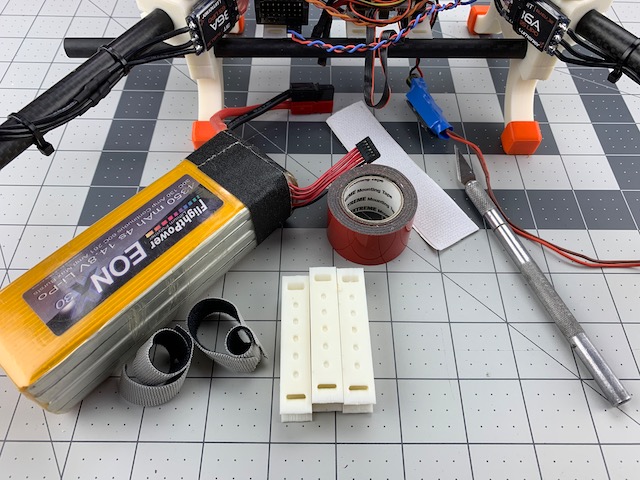
What You Need (BOM)
The following should be everything you need to install the battery and our extra BEC. This step may vary depending on how your power system is installed.
Printed Parts
| Qty | Part | Notes |
|---|---|---|
| 3 | Cross Mount |
Tools
- Knife
Misc
- Velcro
- Double-sided tape
- Flight Battery, 4S 4350 in our case
Step 1 Install Battery
This step is more about installing the battery mounts, but we will also test fit the battery. You will need:
- Battery
- (2) Cross Mounts
- Velcro (sticky back)
- Velcro (straps)
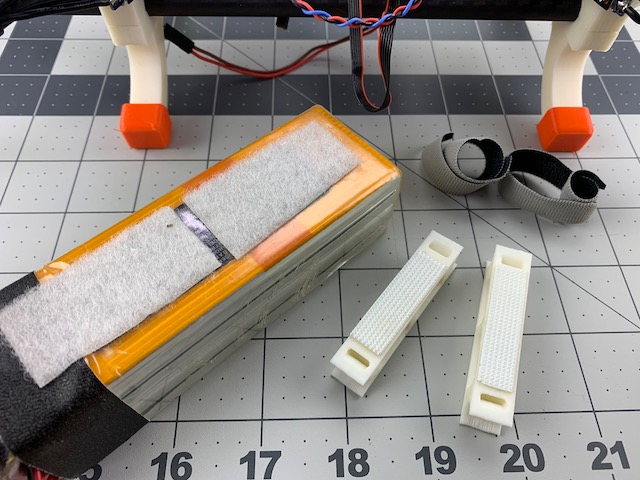
1.1 Install Cross Mounts
- Apply velcro to the top of two Cross Mounts. Make sure it’s the opposite of whatever is on your flight battery.
- Install the two Cross Mounts between the two upper frame tubes. You will need to keep them on either side of the PDB/flight controller stack to maintain clearance.
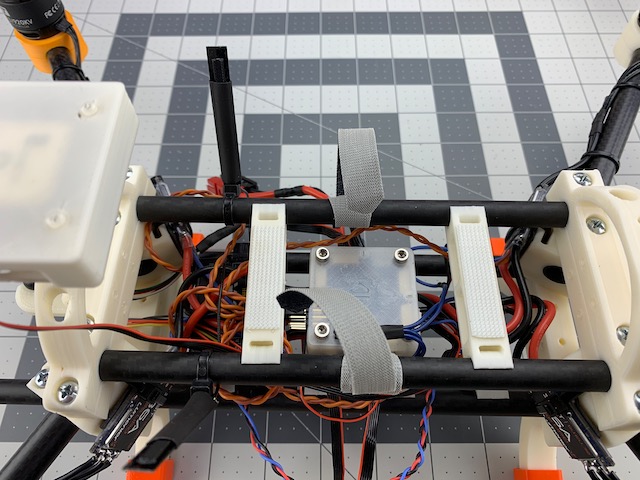
- Wrap your velcro straps around each of the upper frame tubes. Ours were already trimmed, but you might want to wait until you test fit the battery to choose your strap length.
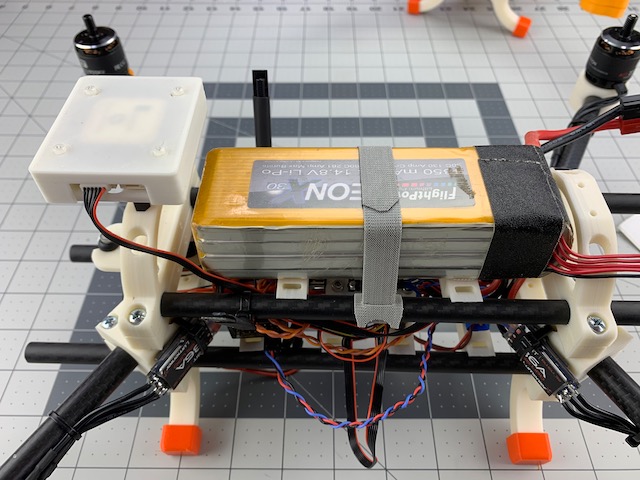
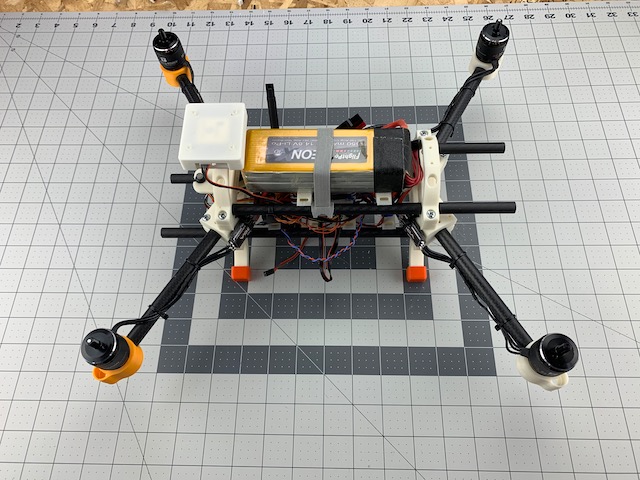
1.2 Test Fit Battery
- Place the battery on the Cross Mounts.
- Tighten the velcro straps.
- Check your power leads from PDB. Now is a good time to make sure the leads are a good length. Don’t forget they need to stay clear of props.
Step 2 Install BEC
In this step we will mount our spare BEC. We are going to use double-sided tape, but you could use velcro, or even a zip tie. There are also several different places this BEC could be mounted. We are using this method as it gives us another Cross Mount to support payloads, such as a companion computer, on the under side of the frame. You will need:
- (1) Cross Mount
- Knife
- Double-sided Tape
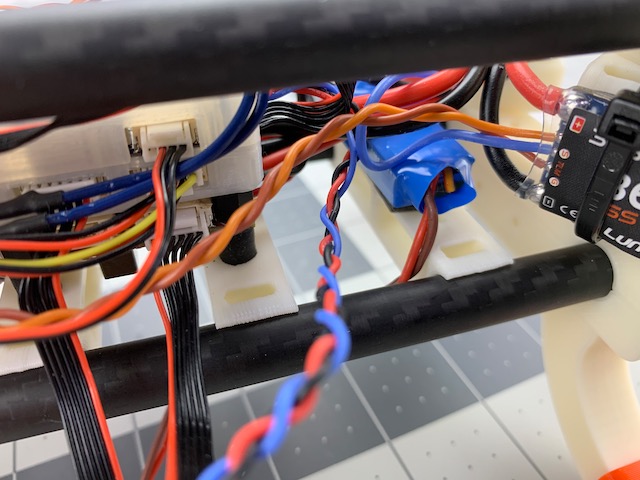
2.1 Install BEC
- Place a Cross Mount between the bottom two frame tubes forward of the PDB/flight control stack.
- Cut a small strip of double-sided tape that will fit the back of the BEC.
- Apply the tape to the back of the BEC.

- Carefully press the tape and BEC to the Cross Mount.
Hardware Complete
Woohoo! You just completed the hardware build for a basic 450 devFrame. We will leave the wires and Cross Mounts loose until we make sure everything works right. In the next section we will start configuring the firmware we need to fly.